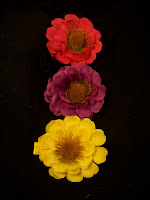
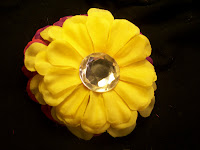
A lightbox is an important tool when photographing items to post for sale online. A lightbox allows you to uniformly illuminate an item. Because the light is diffused through tissue paper, it doesn't create bright spots and allows you to bring all of the little details out clearly. These instructions explain how to make one using things you have at home and you will have professional looking images in no time. It is so easy, you will wish you would have done it sooner.
For another fabulous photography tutorial, this article covers basic photogrpahy tips.
 1. Find a box. The only size requirement is that it be appropriate for the size of items that you plan to photograph.
2. Secure the bottom with masking or packing tape. I'm using masking tape because packing tape is a commodity in my house with all the shipping that I do. Draw a line about one inch inside of the edge of the box on four sides.

3. Cut along the line that you drew. You can use a box cutter but I found that scissors worked just fine for me.

4. I laid a piece of paper in the bottom of mine because I was going to lay fabric inside my finished box.

5. Cover the cutout areas with tissue paper. Now you can add lighting to the outside of the tissued areas. Any lights will work- I have used desk lamps or aquarium lamps.
Check out the results- pretty shnazzy huh?


Its wonderful blog really very nice site and blog facility.every title is very nice and very fatastic concept.Private tutor in Tribeca Thanks for sharing the information.
ReplyDelete